

Prepare the development environment
Use Xcode 14.0 or later, and the device must run iOS 16.0 or later; otherwise screen recording isn’t available.Create the extension
In your existing project, choose New -> Target… and select Broadcast Upload Extension, as shown: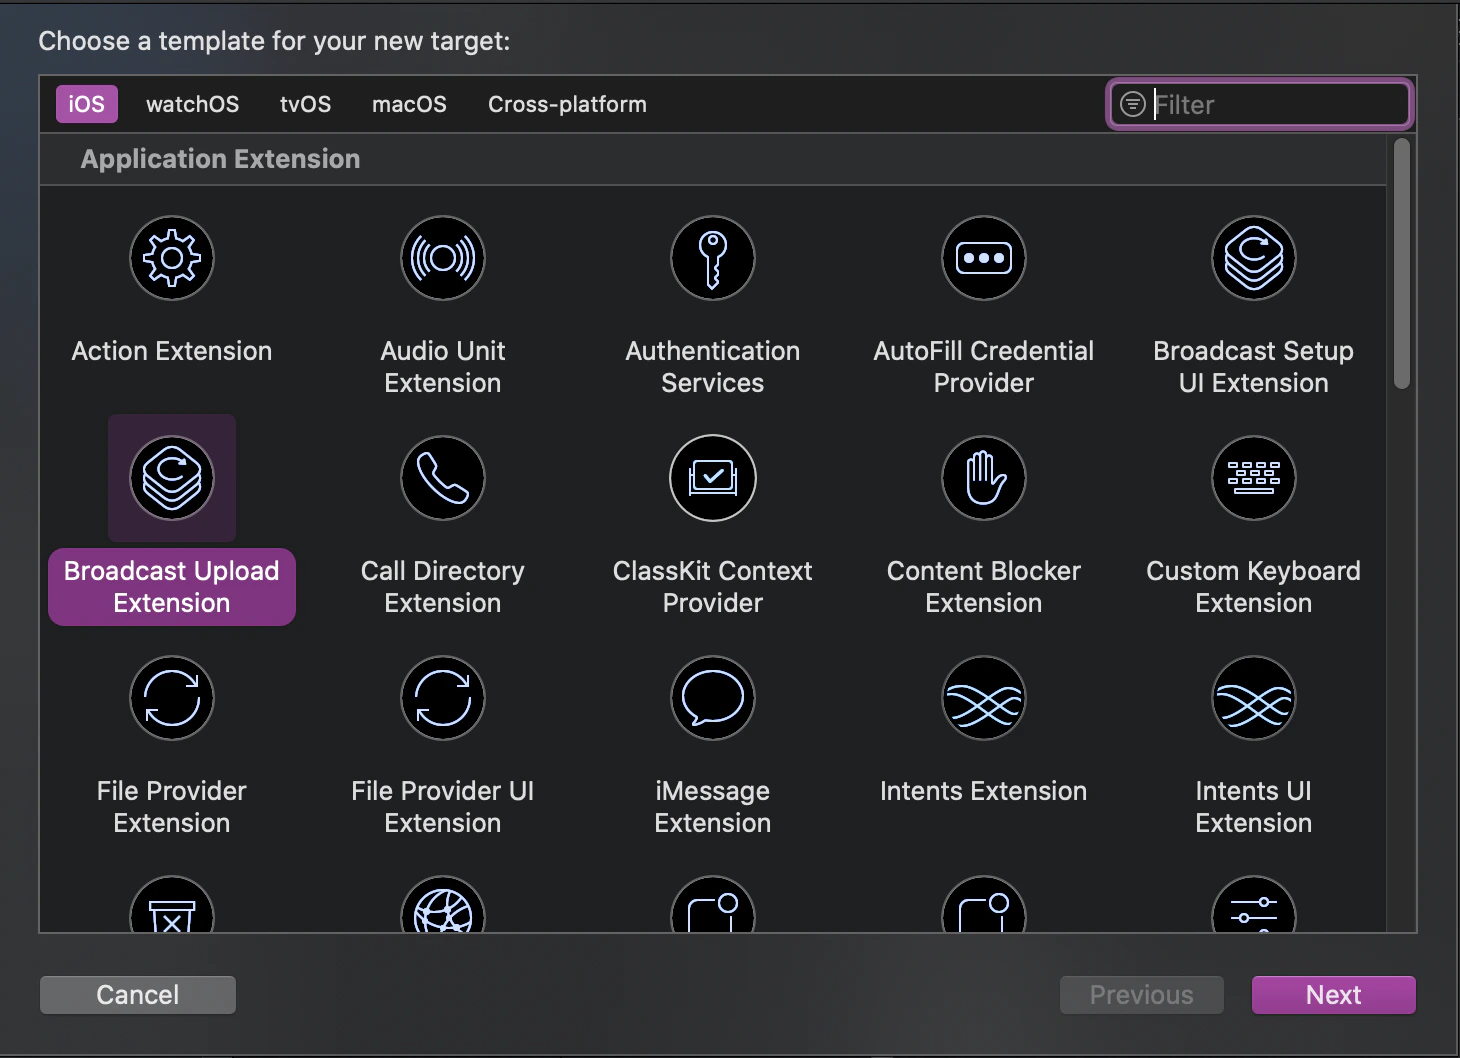
SampleHandler class that handles screen recording, and a corresponding Product Name SetupUI directory, containing a system-generated BroadcastSetupViewController class that handles the screen recording UI.
Add the SDK dependency to the extension
- For manual integration, import
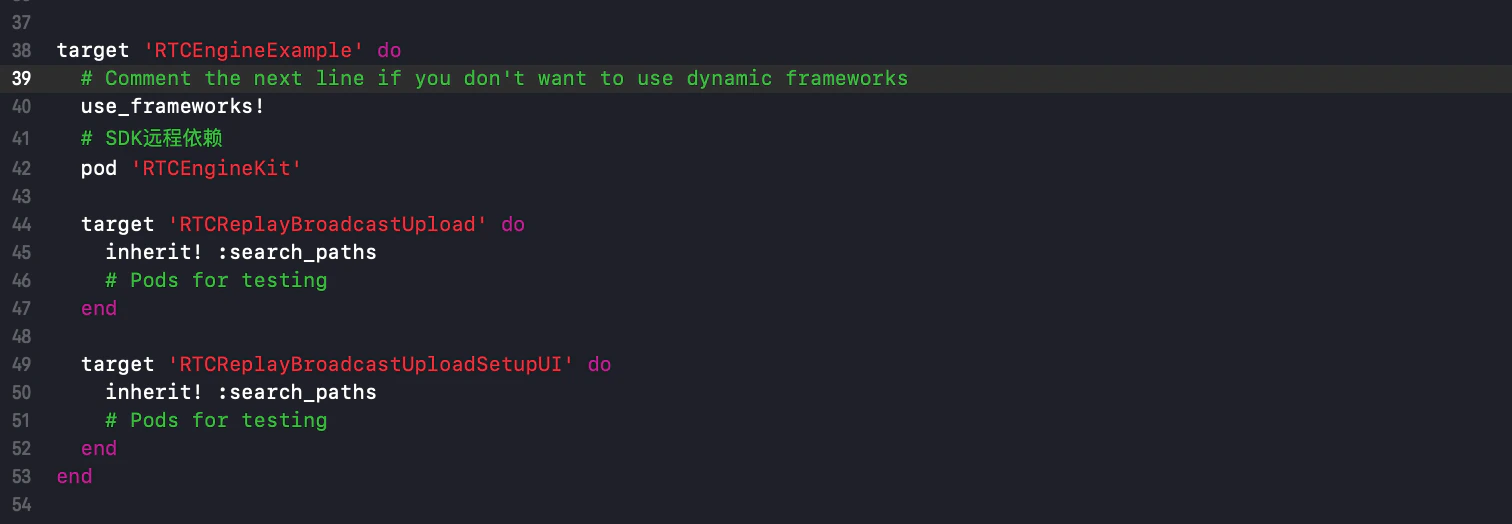
RTCEngineKit.frameworkinto the project directory of the Product Name above and configure the required system libraries; - For automatic integration, update the
Podfileand runpod install, as shown:
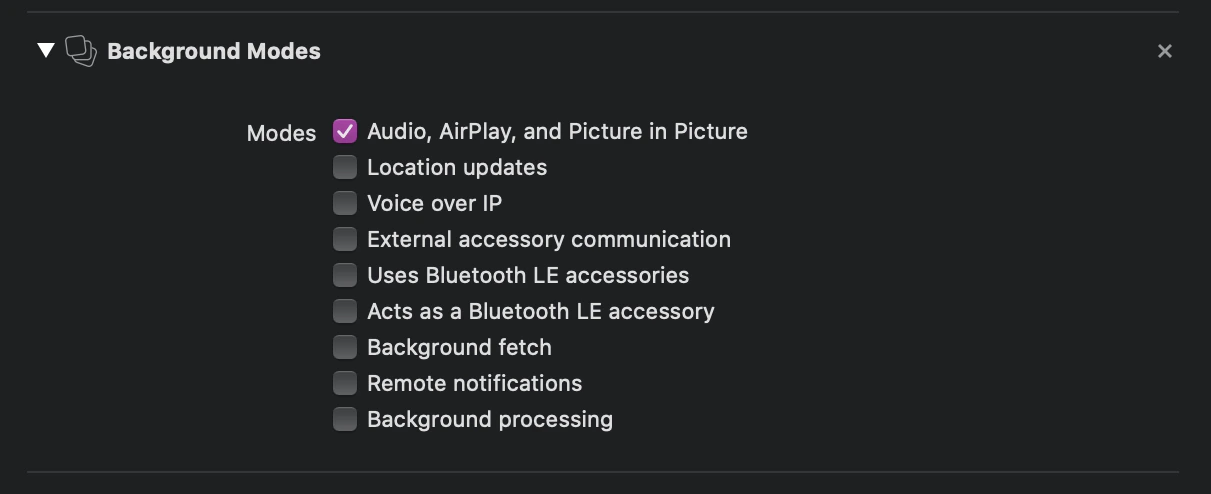
Add background permissions to the host app
In the host project, go to TARGETS -> Signing & Capabilities -> Capability and select Background Modes, as shown: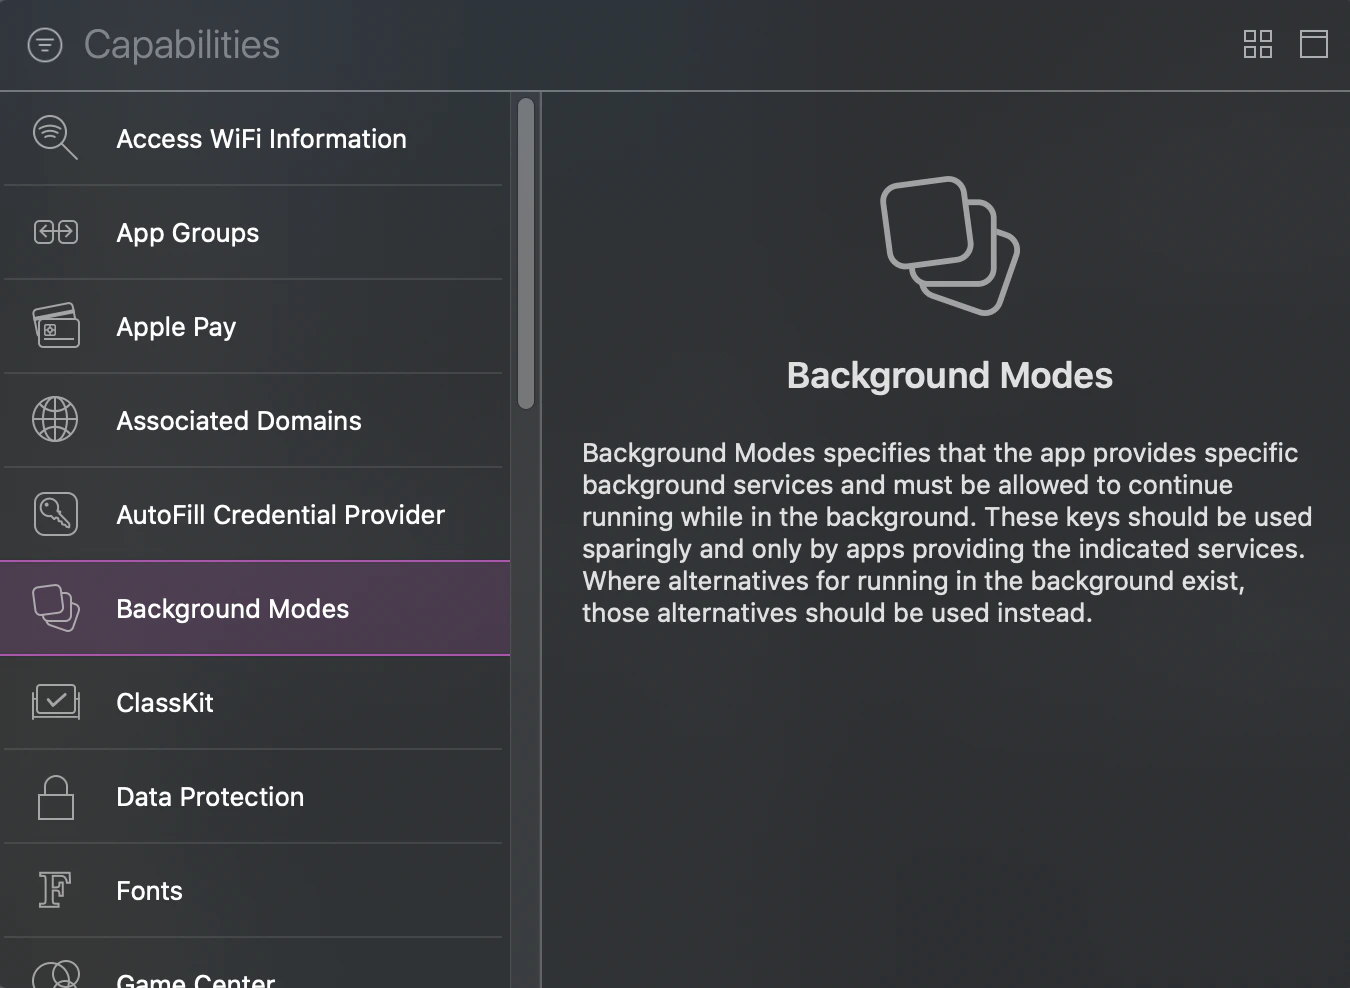
Integration flow
1. Where you use the recording service, add#import <ReplayKit/ReplayKit.h> and create an RPSystemBroadcastPickerView object, as shown:  2. To implement your business details, replace the
 RPSystemBroadcastPickerView button as follows. If the following page appears after the broadcastButton event, the extension is integrated successfully: 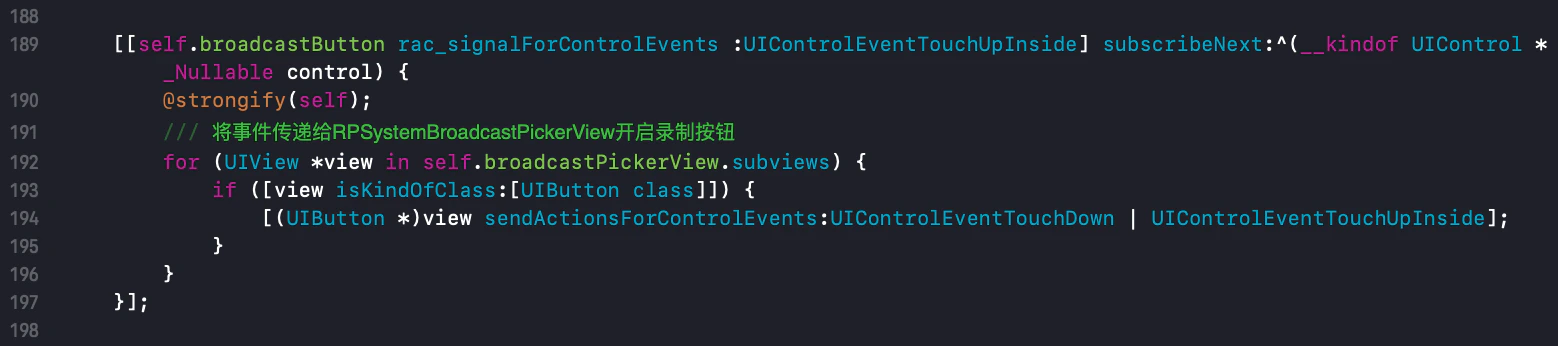
 3. In the host project, pass in
 RTCEngineChannelDelegate when creating the channel instance, and implement the screen sharing status callback:
Starting with
3.0.0, ReplayKit capture is a process-level shared capability. Whether a given channel publishes the sharing stream is controlled by that channel instance’s publishScreenRecord:, and the screen sharing status callback has accordingly moved to RTCEngineChannelDelegate, carrying the channel instance the event comes from. To stop screen recording for all channels in the process at once, still call -[RTCEngineKit stopScreenRecord].Starting with 3.0.1, the SDK starts the capture service and keeps listening as soon as you join the channel, so users can start screen recording from the system panel at any time; RTCScreenRecordStatusStart is called back only after the extension connects. Therefore you must call publishScreenRecord:YES only after receiving the Start callback—don’t call it early to publish the sharing stream.RTCScreenDelegate delegate in the screen extension’s SampleHandler:
SampleHandler:
SampleHandler:
RTCScreenRecordStatusStart callback, the host project publishes screen sharing on each channel instance that should publish the sharing stream. Only when the last publishing channel unpublishes does the SDK disconnect the extension and end this system screen recording:
RPSystemBroadcastPickerView → the extension connects and you receive RTCScreenRecordStatusStart → the channel instance calls publishScreenRecord:YES to start publishing. To finish, call publishScreenRecord:NO (stops publishing on the current channel only) or -[RTCEngineKit stopScreenRecord] (ends this system screen recording; the capture service keeps listening, and the user can start it again).