

Development environment
You need Xcode 14.0 or later, and the phone must run iOS 16.0 or later (the SDK’s minimum system requirement starting with2.1.0; versions before 2.1.0 need iOS 12 or later to use screen recording).
Create the extension
In your existing project, choose [New] -> [Target…] and select [Broadcast Upload Extension], as shown: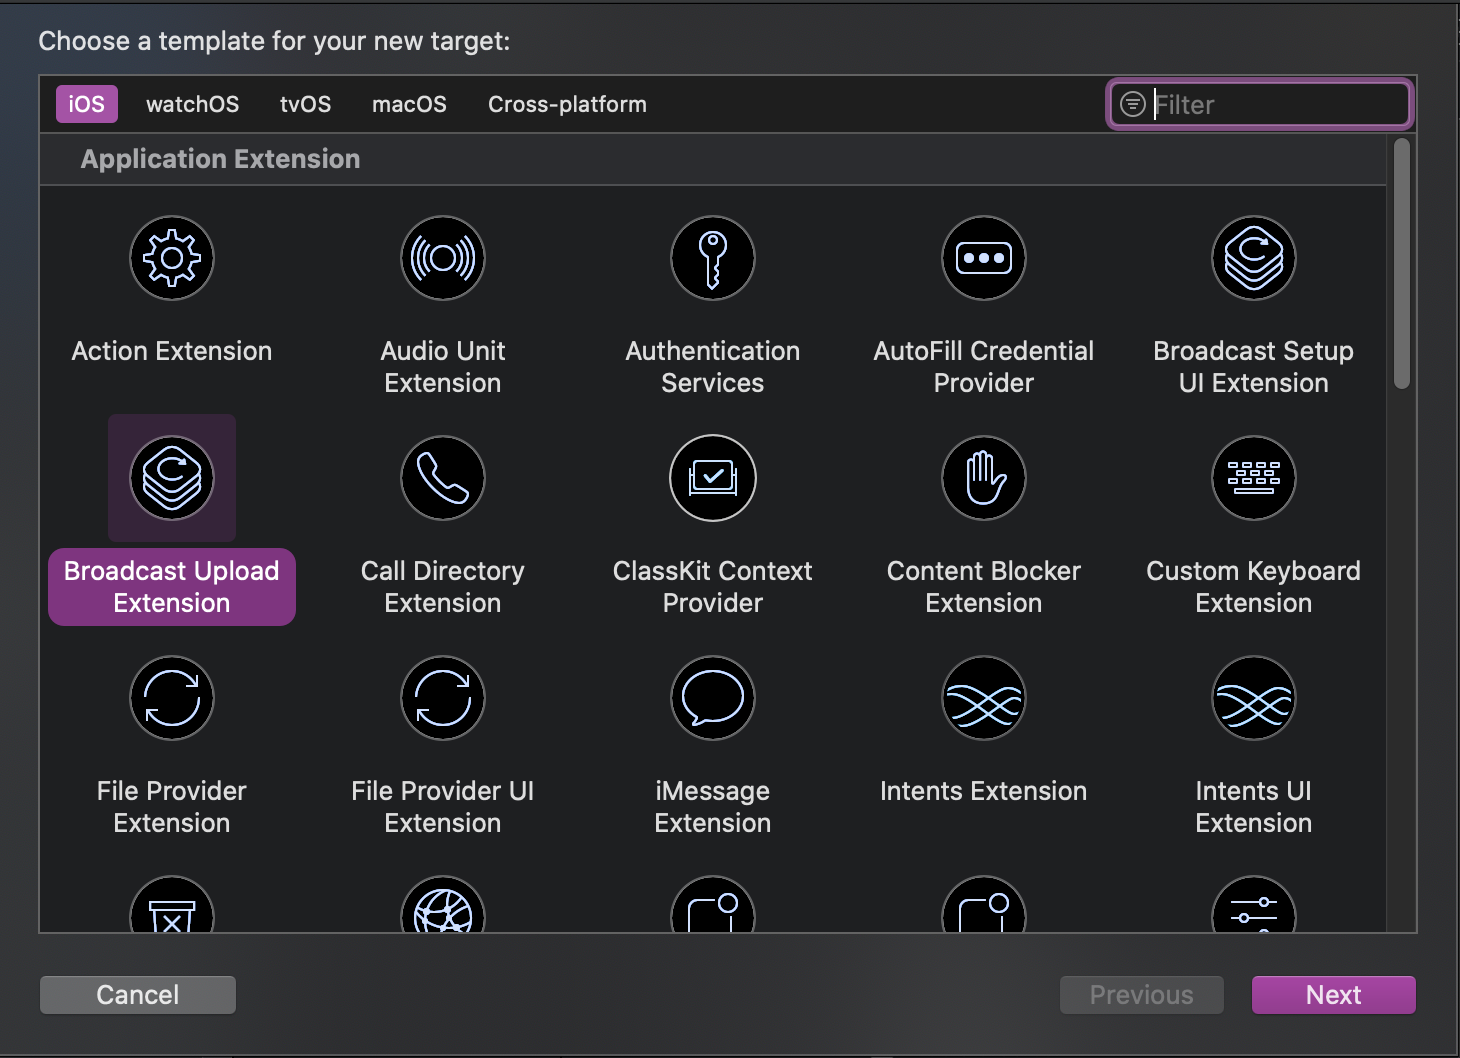
SampleHandler class that handles screen recording, plus a corresponding Product Name SetupUI directory containing a system-generated BroadcastSetupViewController class that handles the screen recording UI.
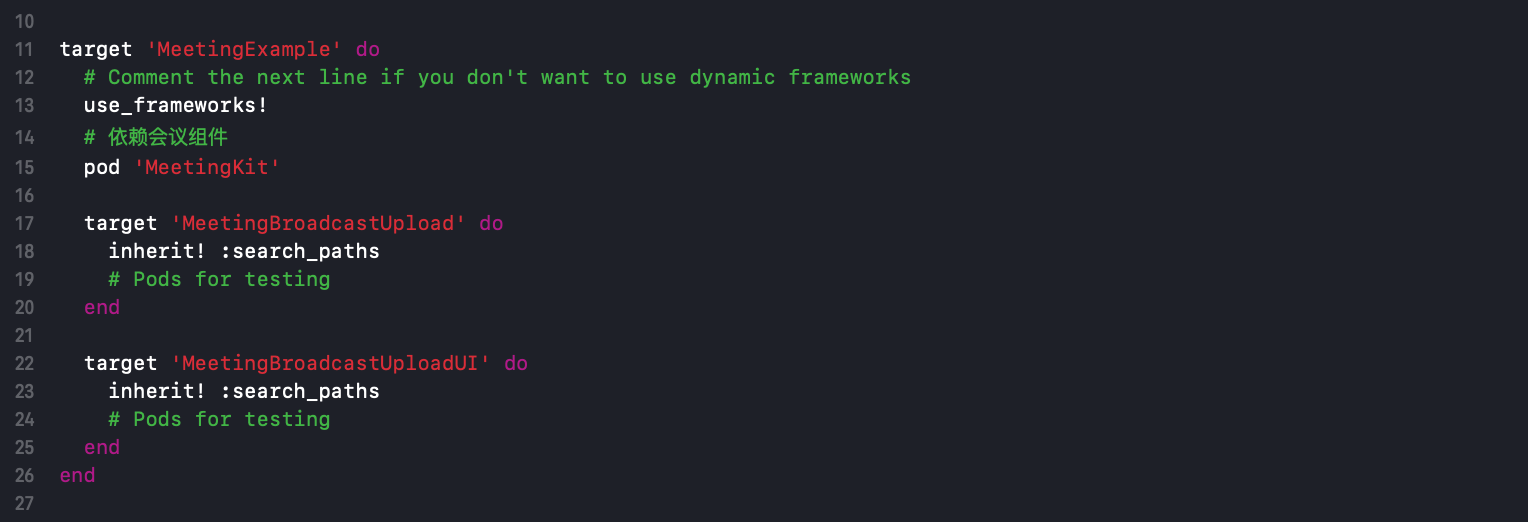
Add the SDK dependency to the extension
To integrateMeetingKit.framework into the screen recording extension, update the Podfile and run pod install, as shown:
Add background permissions to the host app
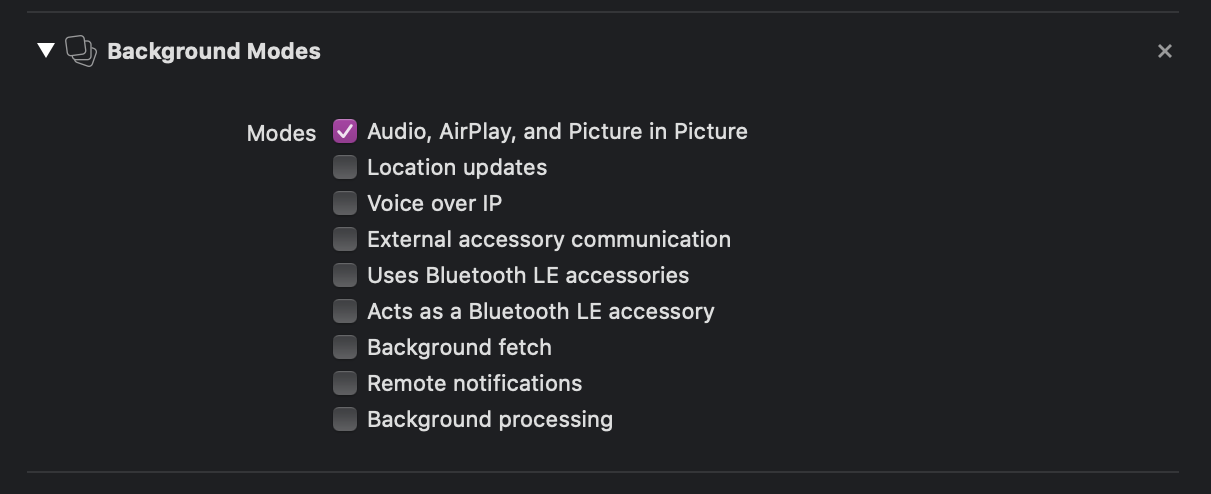
In the host project, go to [TARGETS] -> [Signing & Capabilities] -> [Capability] and select [Background Modes], as shown: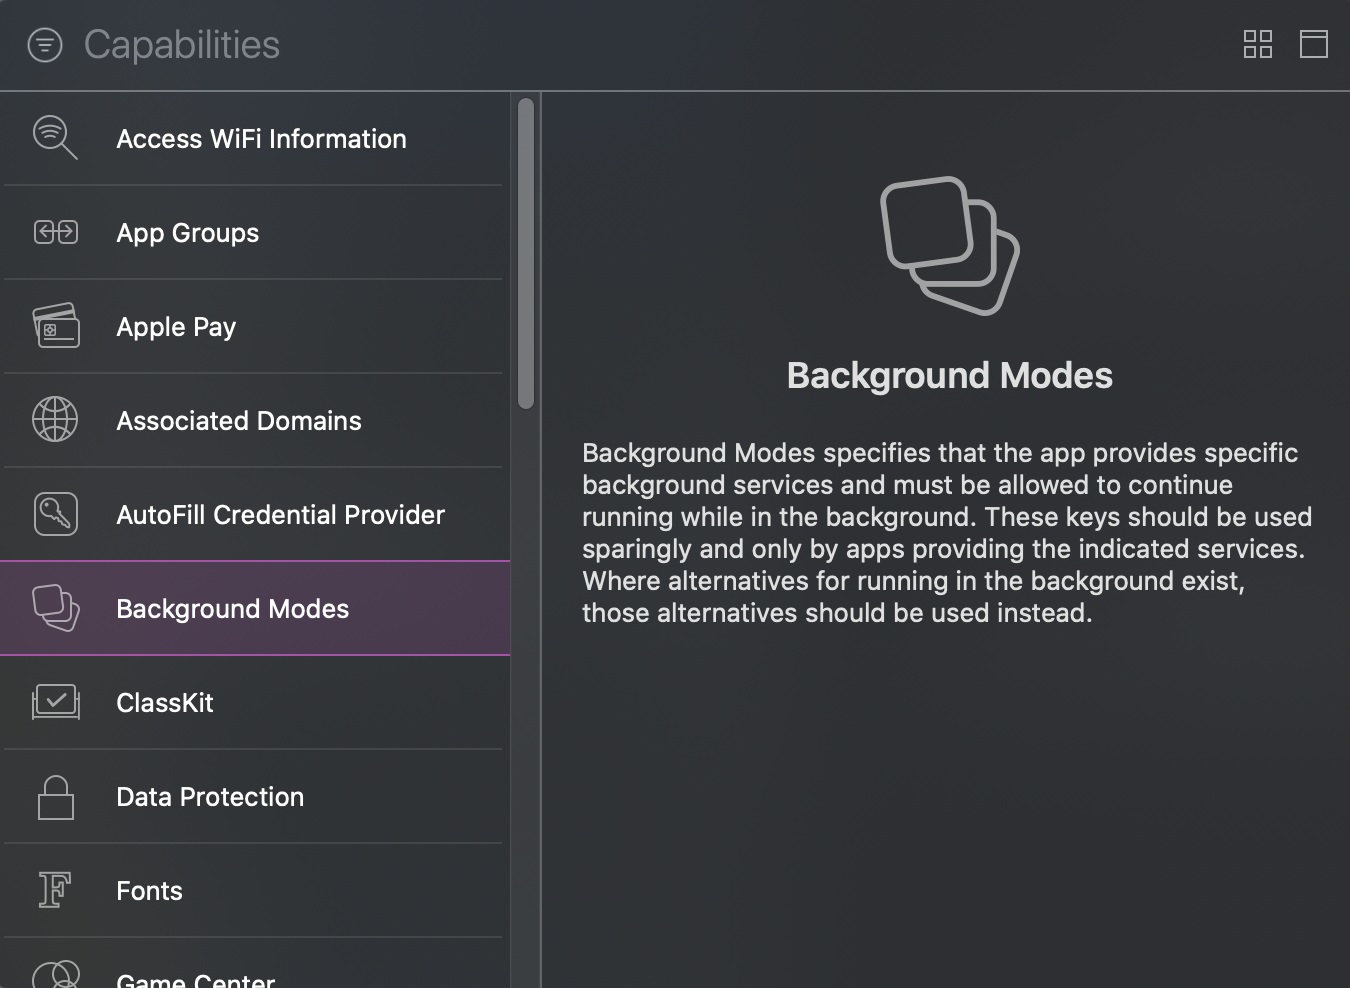
Integration steps
1. Where you need the recording service, import#import <MeetingKit/MeetingKit.h> and create an RPSystemBroadcastPickerView object, as shown:
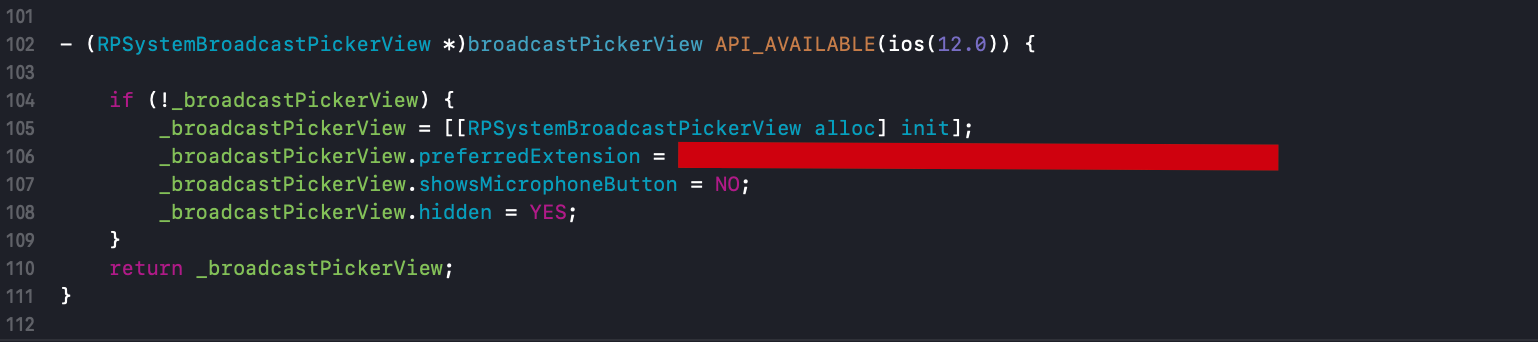
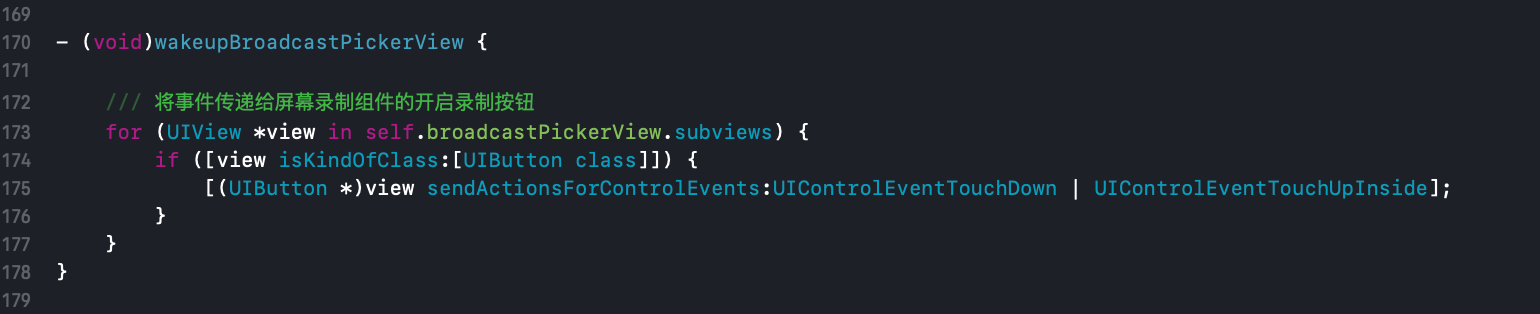
RPSystemBroadcastPickerView button as follows. If the page below appears after the broadcastButton event fires, the extension is integrated successfully:
MeetingKitRoomDelegate when creating the room instance, and implement the screen sharing status callback:
Starting with
2.0.0, the process-side screen capture integration (broadcastStartedWithAppGroup:delegate:, sendSampleBuffer:withType:) stays on the MeetingKit singleton, while the screen sharing status callback has moved to MeetingKitRoomDelegate along with the other in-meeting events, and carries the room instance the event came from. To stop sharing, call stopScreenRecord on the room instance.RTCScreenDelegate delegate in the screen extension’s SampleHandler:
SampleHandler:
SampleHandler: